Jump To:
Home Page
Builder Biography
Kitfox Information
Preparing to Build
The Tail
The Fuselage
The Wings
Fabric Covering
Instrument Panel
Cockpit Interior
Engine Installation
Transport Trailer
Done?
Flight
Alaska Flight
Discoveries
Building Tips
Download Page
|
Things Don't Always Go Right
Not everything works well or all the time. Some things break and some things can be done a better way. This section of the web is here to describe the surprises and discoveries that I am making along the way as I fly N913KF.
|
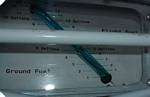
Sight Tube Leaks
The sight tubes which allow me to see the fuel level in each fuel tank were made of butyrate. The auto gas ate through them in about two months. First the right tube developed a leak. I discovered that the tube had cracked on the inside of the 90 degree bend. When I removed it, the tube was so soft that it easily bent in half and broke apart. Examination of the left tube showed the same weakness.
I removed the butyrate tubes, replaced the Parker fittings with 1/4 inch barbed fittings, and used Tygon fuel resistant flexible tubing to construct new sight tubes. Inside the Tygon, I placed a bare copper wire which gave shape to the tubing where I formed 90 degree bends to the fittings.
|
|
|
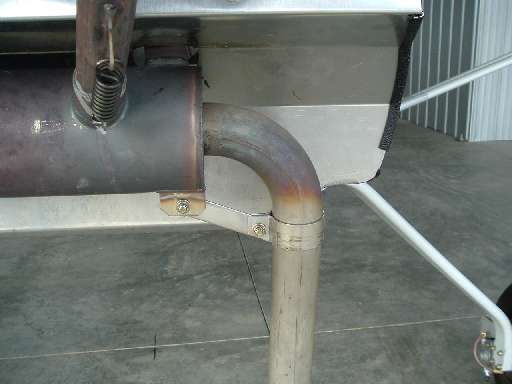
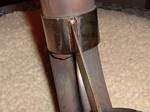
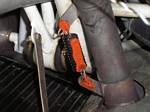
Broken Exhaust Pipe
After only 42 hours of operation, the exhaust pipe fractured. I felt a vibration in flight at about 4000 rpm. Upon examination after landing, I found the fractured pipe shown here. The break happened where the exhaust pipe is reinforced by an angular brace attached to the muffler. The brace was engineered because Skystar had experienced problems with the pipe cracking at the muffler. Bad weld? Metal fatigue caused by welding heat? Misplaced vibration? Uneven expansion of dissimilar metals?
|
|
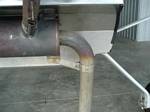
Broken Exhaust Pipe Fixed
I sent the muffler assembly back to Skystar. They repaired it with a new pipe and a new style of brace. All I had to pay was the shipping! Skystar covered the cost of the repair as a warranty item
|

|
Static Air Source
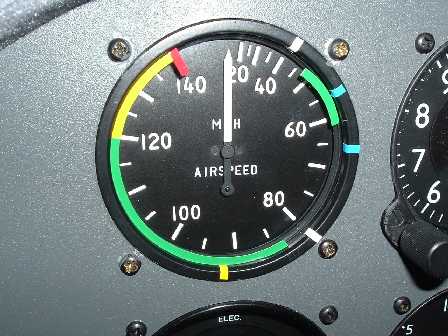
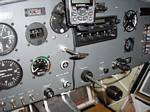
The outside static source really looked neat, but during my airspeed calibration tests I discoved errors of almost 20% at higher indicated airspeeds. I had placed the static port in an area of low pressure which became even lower as speed increased. When I disconnected the static port and vented the pitot/static instruments to the cabin, subsequent testing showed indicated airspeed correct to within a couple of mph over the entire spectrum.
Another change that I made around this time was to replace the airspeed indicator. The kit was supplied with an airspeed indicator which read from 0-200 mph. Since my Vne (never exceed speed) was 140 mph and most of my flight maneuvering occurs between 0-100 mph, I was only using about 1/2 of the guage's travel. I reasoned that if I replaced the indicator with one which read 0-140 mph, I would get better definition in the lower speed ranges where I needed it. So I did.
|

|
Oil Temperature Sensor
The oil temperature sensor sending unit died after only 10 hours. The temperature fell to zero. I used Westach's troubleshooting instructions to determine if the problem was in the guage, the wiring, or the sender. It was the sender. A quick email to Westach, and they sent me a new sender unit - gratis. Now it works again.
|
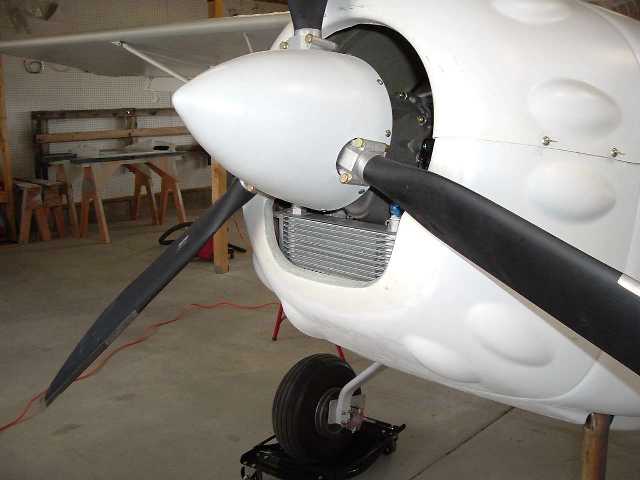
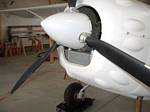
Cowl Trimming
The round cowl blocked most of the frontal area of the oil cooler. During flight testing, the oil temperature was hotter than I wanted, so I decided to improve the airflow over the cooler. I trimmed out the bottom cowl so that the entire oil cooler was exposed to the incoming air. I then reconstructed the rounded cowl lip with fiberglass.
|
|

|
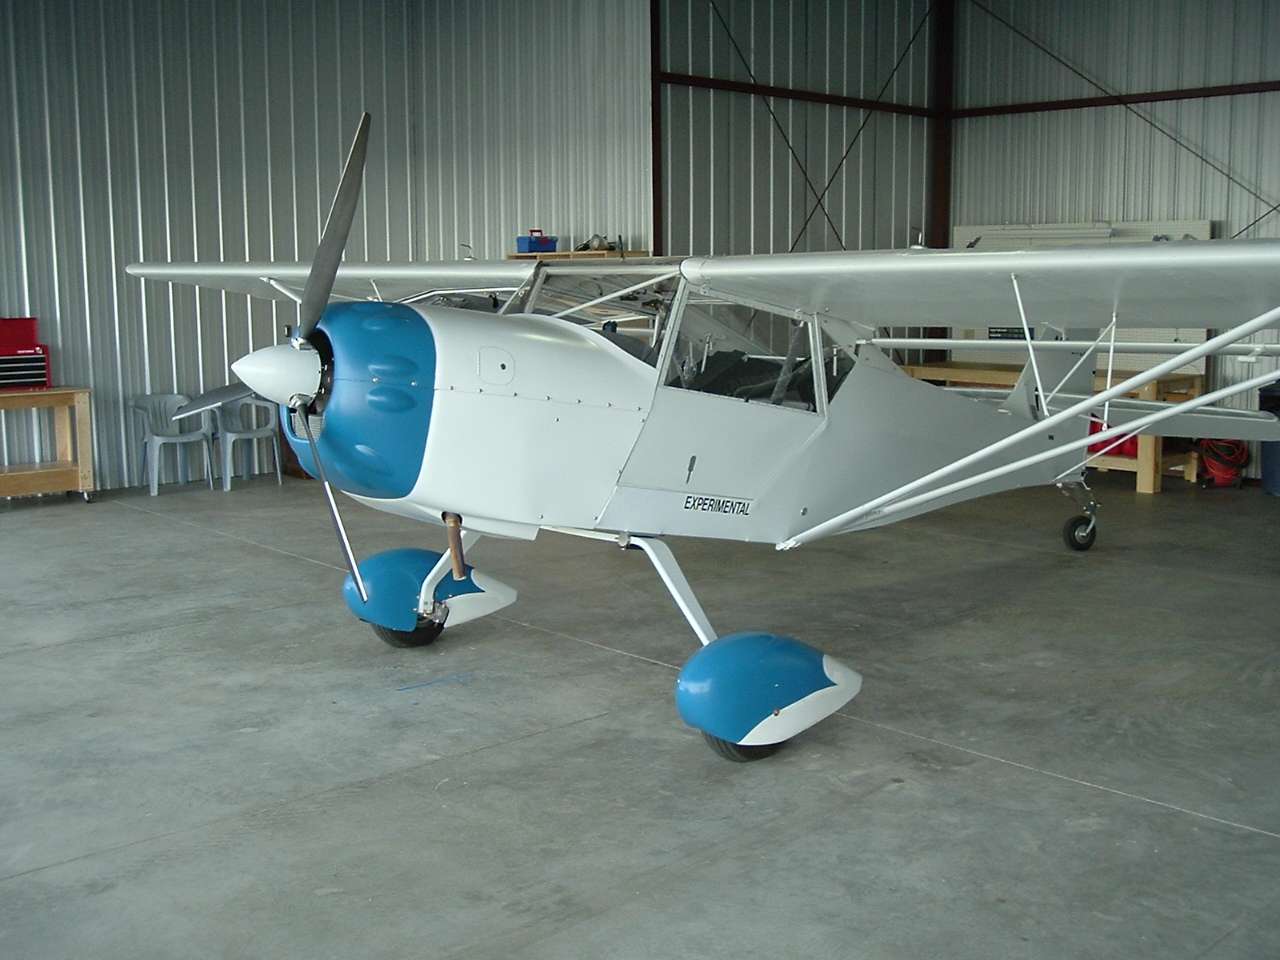
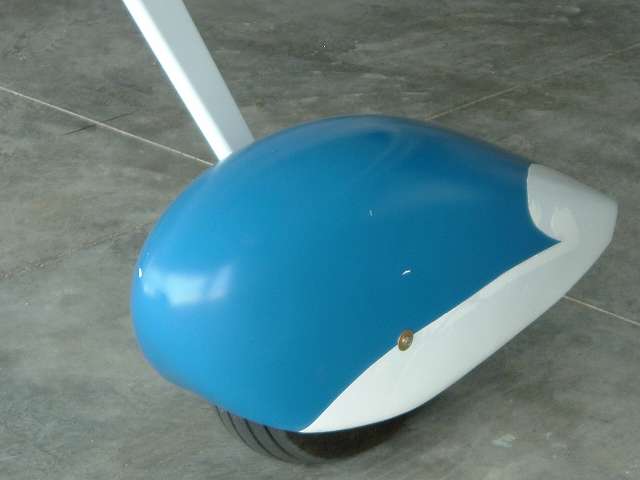
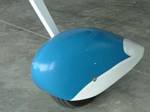
Wheel Pants
I finally got around to installing the wheel pants after the first 100 hours of flight. The trimming and mounting went fine, but the Polytone paint had a problem sticking to the fiberglass. I did not use a primer, and the paint peeled when the masking tape was removed. Now I get to strip the paint and try again.
|
|
|
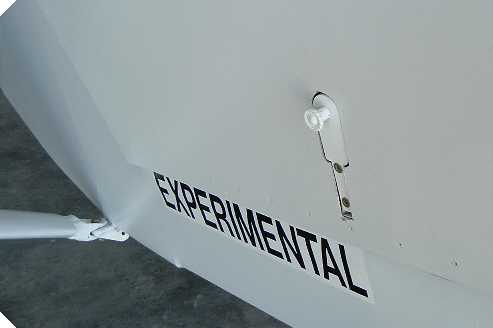
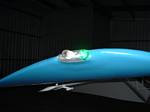
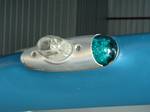
Door Latch Modification
I felt that it was too difficult to grasp the door latch from the outside. I added small knobs to give a place to pull the latch out of its normally recessed position.
|
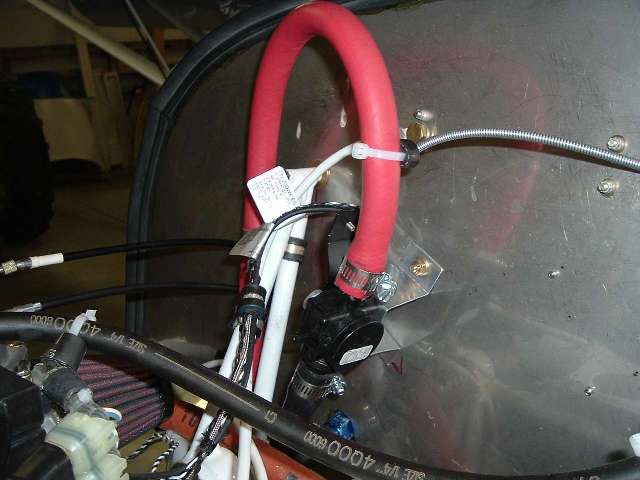
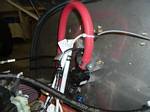
Cabin Heat Control
Cabin heat is supplied by routing engine coolant through a heat exchanger mounted in the cockpit. Fans force air through the heat exchanger. The original plans did not have a method of controlling the coolant flow through the exchanger. Therefore, hot coolant was always sent through the exchanger in the cockpit. When the fan was turned on, I got full heat - all the time.
I wanted more control so that I could keep the heat out of the cockpit during the summer and regulate the heat when needed during cold weather operations. A cable actuated heater control valve did the trick. I went to NAPA Auto Parts and searched through thier inventory until I found one that I thought would work. I think that this one was originally intended for a 1975 Chrysler. I fabricated a bracket to mount it on the firewall, machined an actuator arm, and plumbed it into the heat exchanger core's hoses. The valve is controlled via a push-pull cable routed to the cockpit. Now I can vary the amount of heat to meet the conditions
|
|
|
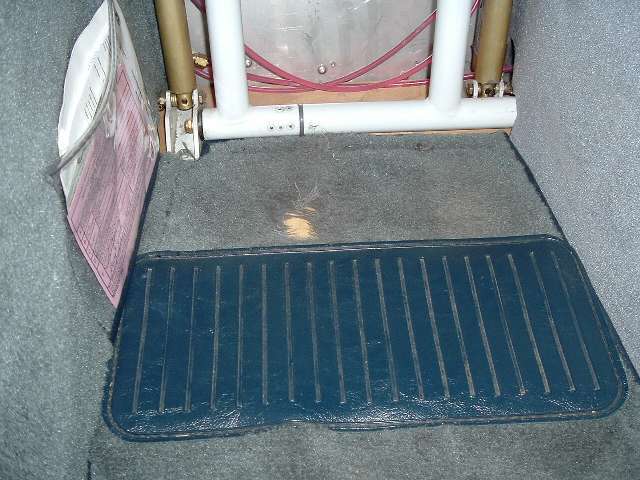
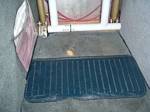
Worn Carpet
The vinyl heel plate sewn into the carpet did not line up to the point where my heels rested. I wore a hole through the carpet in about nine months. So, I took a piece of diamond-plate aluminum, cut it to size, and attached it to the carpet with Velcro. Now the entire area of the pilot's floor is protected.
|
|
|
Oil Thermostat
The oil operating temperature never got warm enough in the winter. Instead of taping over the cooler, I decided to install an oil thermostat. If the oil temperature is below 195 degrees, the oil is routed directly through the engine. If the temperature rises, the oil is automatically routed through the oil cooler. This thermostat is available through Lockwood Aviation.
|
|
LED Position Lights
The Whelen position lights work great, but they use a lot of electricity. The Skystar manual states that the nav/position lights use about 7 amps when turned on. The Rotax alternator only produces about 22 amps. When I flew at night with all the radios, lights, heater, and strobes working only at high throttle settings would the alternator keep up with the demand. When the throttle was pulled back for descent or during taxi, the system would start to draw from the battery.
I decided to keep the Whelen fittings, but replace the incandescent bulbs with Light Emitting Diodes (LEDs). An LED uses a minuscule amount of power and has a life of about 100,000 hours. Even though I purchased superbright LEDs (8000 mcd each), one single LED was nowhere near bright enough. I built an array of 15 LEDs for each colored 'bulb'. The LED's are mounted into a printed circuit board, cut into a circle, which fits in the space of the original bulb under the lens. I cannibalized some lamp bases from 1157 auto brake lights, wired the circuit board to the lamp base, and used the original Whelen fitting to attach the new light source. There was absolutely no modification made to the Whelen fitting. I can revert to original configuration at any time. The white 'tail' light bulb was replaced by a stock 6 LED 'bulb' with a spade fitting. Now my nav/position lights draw about 1/2 amp! Total! That's what I'm talking about!
So, what do you need to accomplish this miracle? You can learn all about wiring LEDs for a 12 volt circuit on the web. Other items include:
|
Item
|
Quantity
|
Price Each
|
Where?
|
Notes
|
|
Printed Circuit Boards
|
2
|
$1.69
|
Radio Shack
|
Stock Item
|
|
Green LED
|
15
|
$0.91
|
superbrightleds.com
|
RL5-G7532 LED with 7500 mcd and 32 degree light pattern
|
|
Red LED
|
15
|
$0.45
|
superbrightleds.com
|
RL5-R8030 LED with 8000 mcd and 30 degree light pattern
|
|
White LED Bulb
|
2
|
$3.64
|
superbrightleds.com
|
WLED-6
|
|
Bulb Bases
|
2
|
$1.94 / pack of 2
|
Wal-Mart
|
1157 Auto brake light bulbs
|
|
Resistors
|
8
|
$0.99 / pack of 6
|
Radio Shack
|
1/4 amp 100 ohm
|
|
|
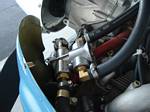
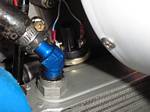
Oil Pressure Switch
The Hobbs meter ran any time the master switch was on. I changed this with the installation of an oil pressure switch. Now, the Hobbs will only run when the engine is running and producing oil pressure. I saw an example of this in an article written by Phil Lockwood in the EAA magazine. There is an unused port near the oil pump. I had to purchase an adapter to convert from the engine's metric threads to the switch SAE threads. I also had to add an elbow fitting so that I could position the switch behind my oil cooler without interference. It was tight but it fit.
I learned and implemented several other things with the help of Phil Lockwood's articles. I purchased and installed drip trays below the carburators. I wired and installed an alternator fail indicator lamp. His four part series on the Rotax 912 engine installation and his two part series on carbutaror synchronizing are valuable reading.
|
|
|
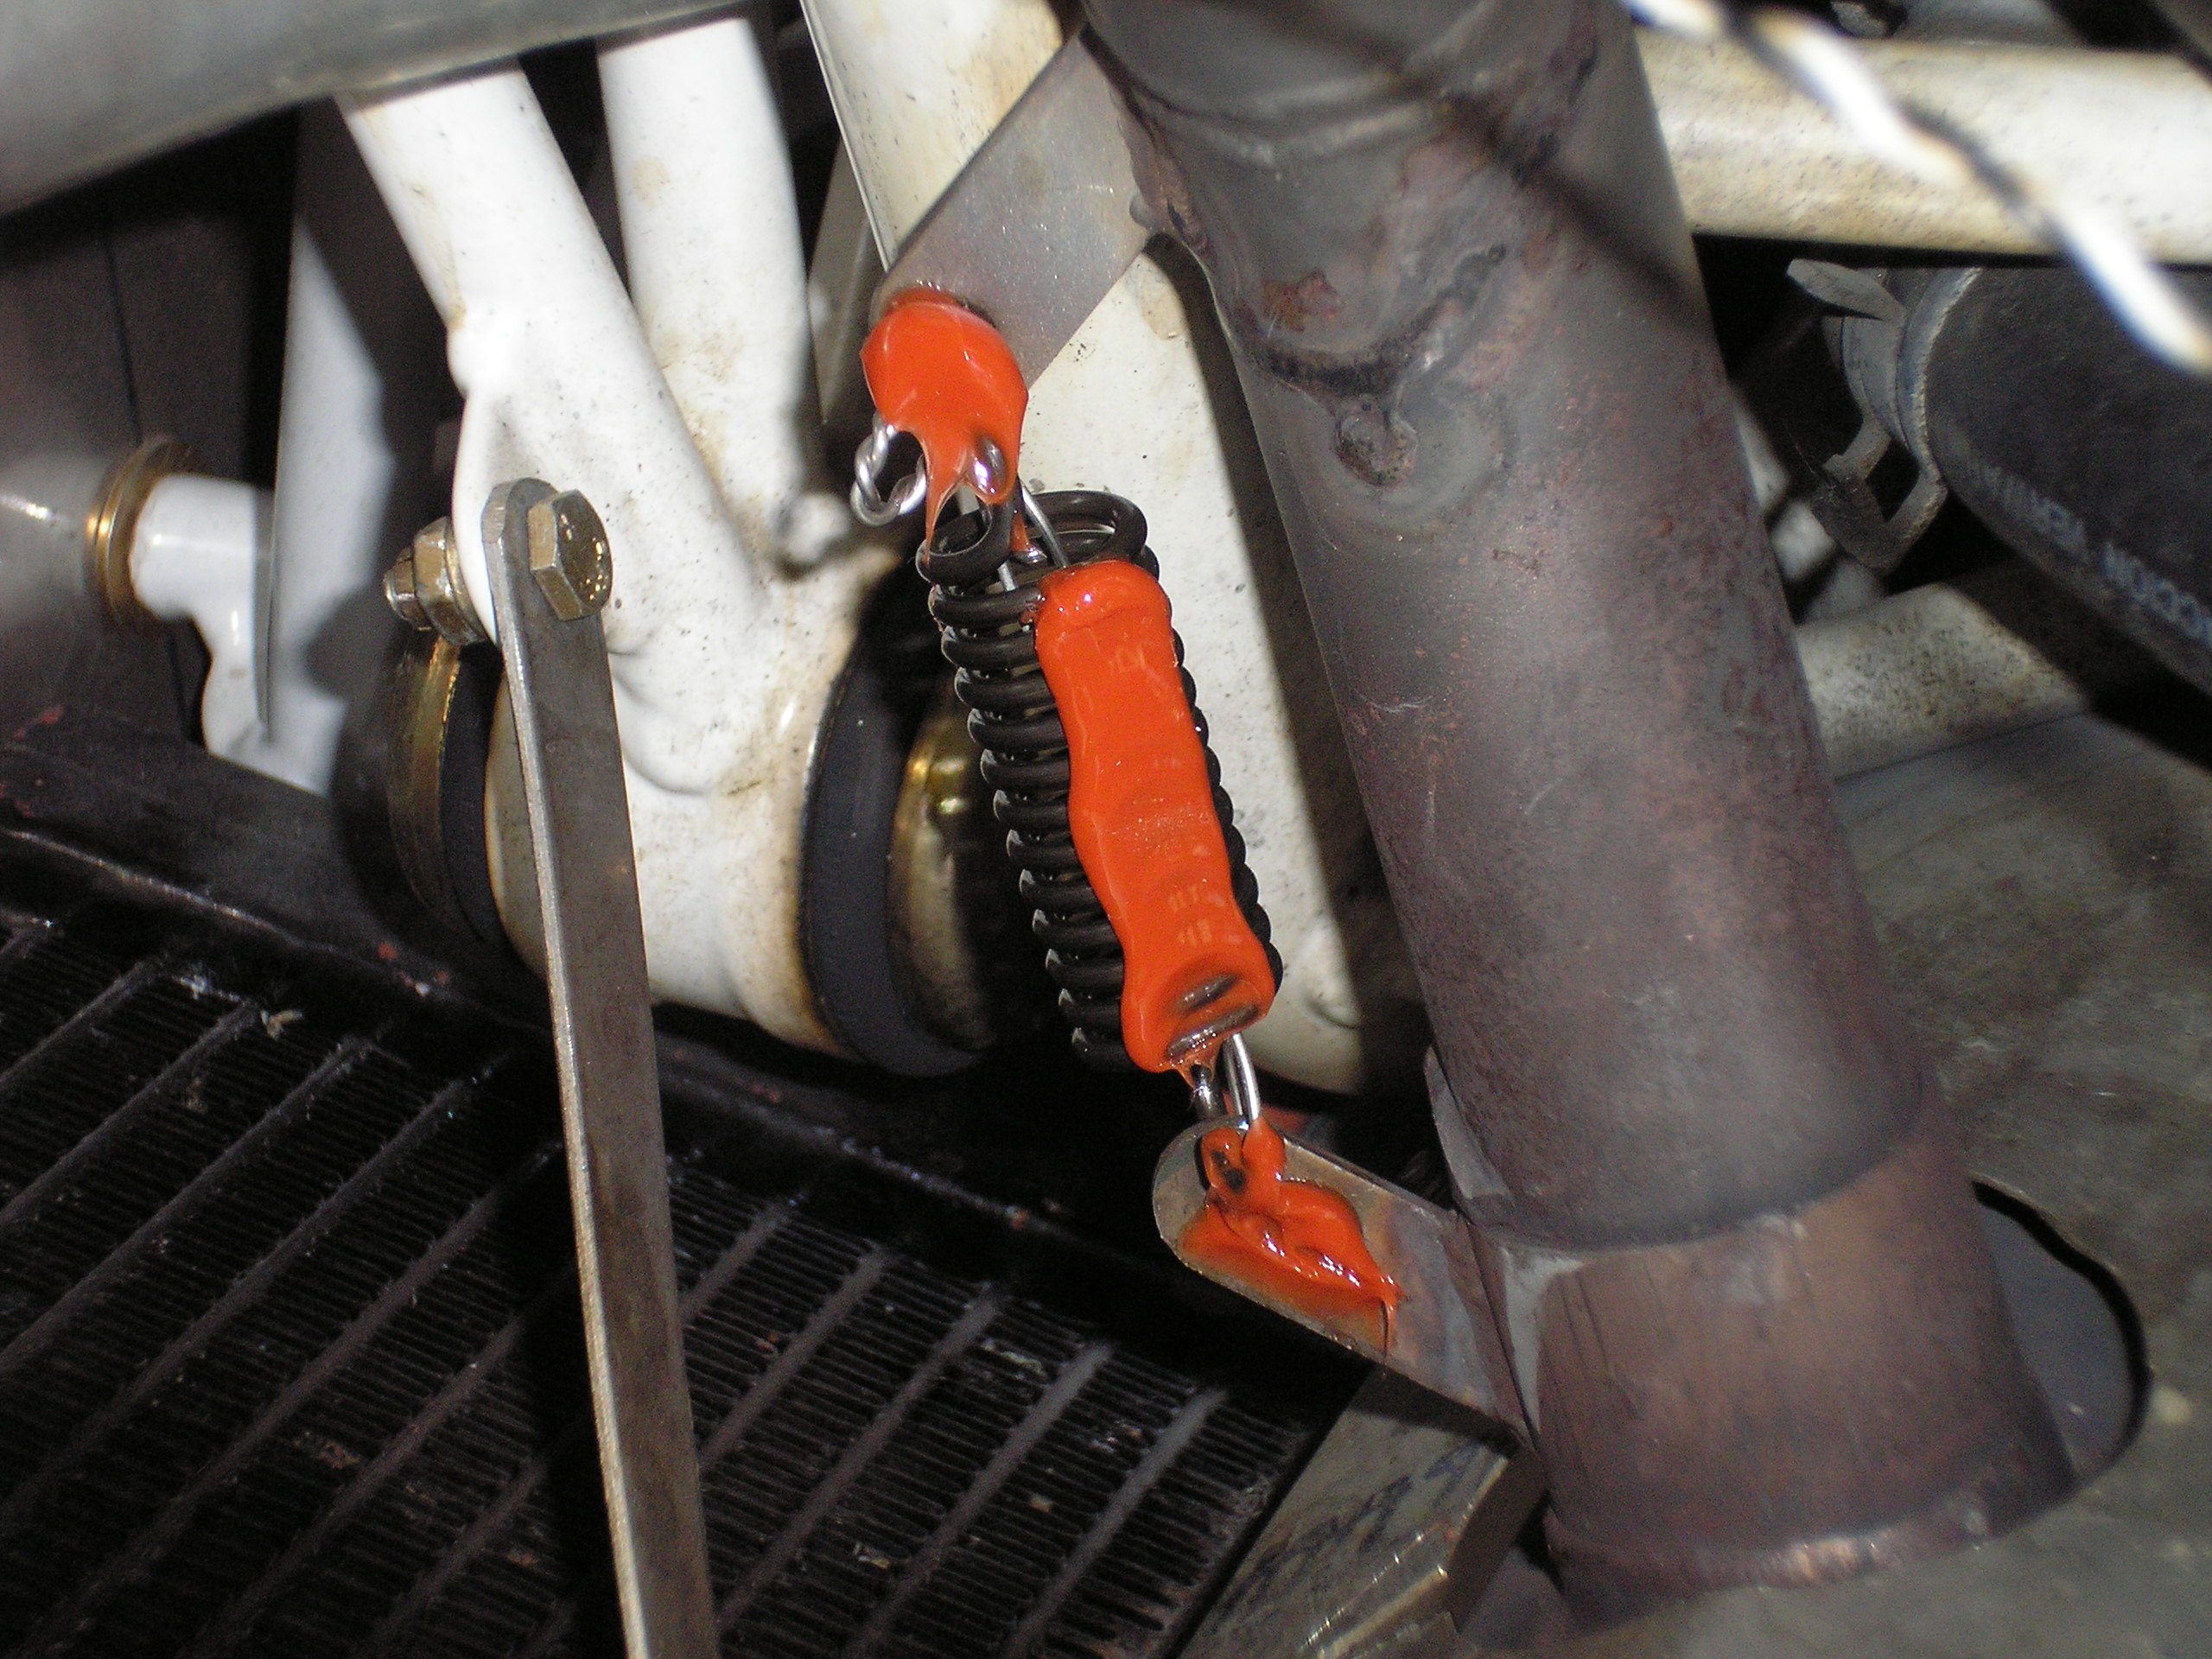
Exhaust Springs
The exhaust springs were wearing at the hooks. I replaced all four springs and performed another task that I picked up from Phil Lockwood's articles. There is a loose loop of safety wire through the middle of the spring. A bead of high temperature silicone RTV was squeezed accross the spring coils. If the spring should break at least all of the pieces should stay in the same general vicinity.
|

|
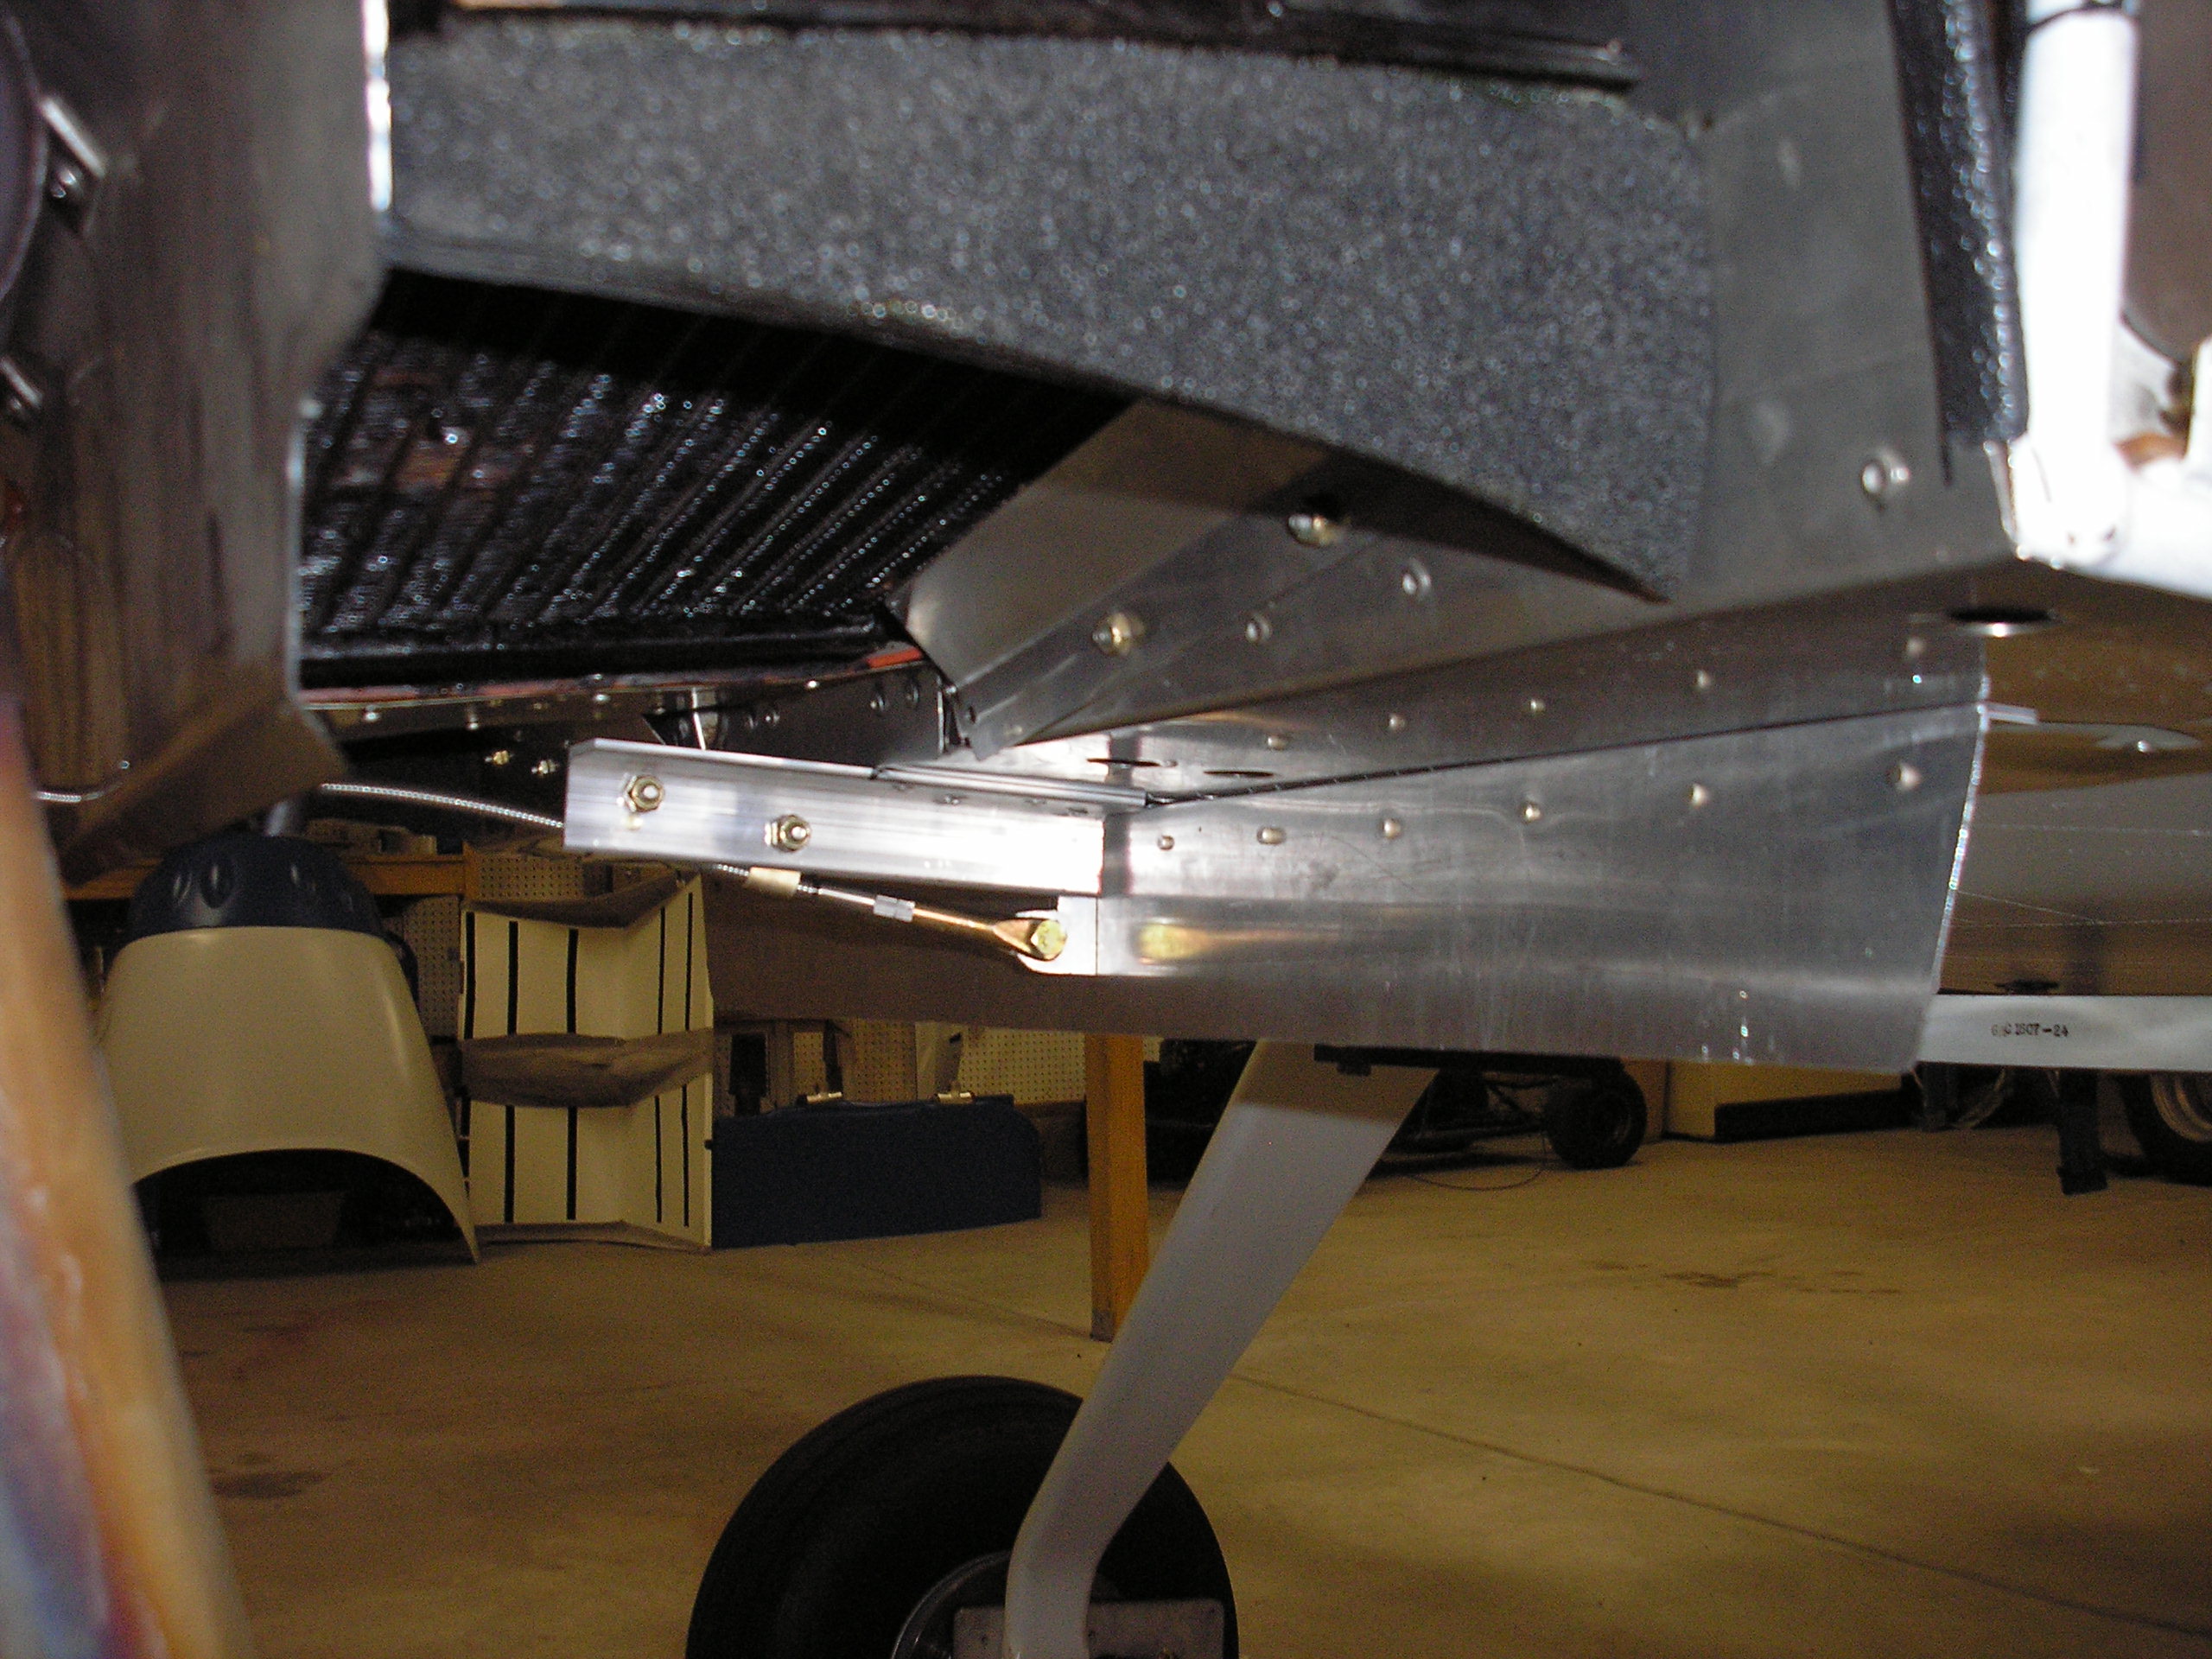
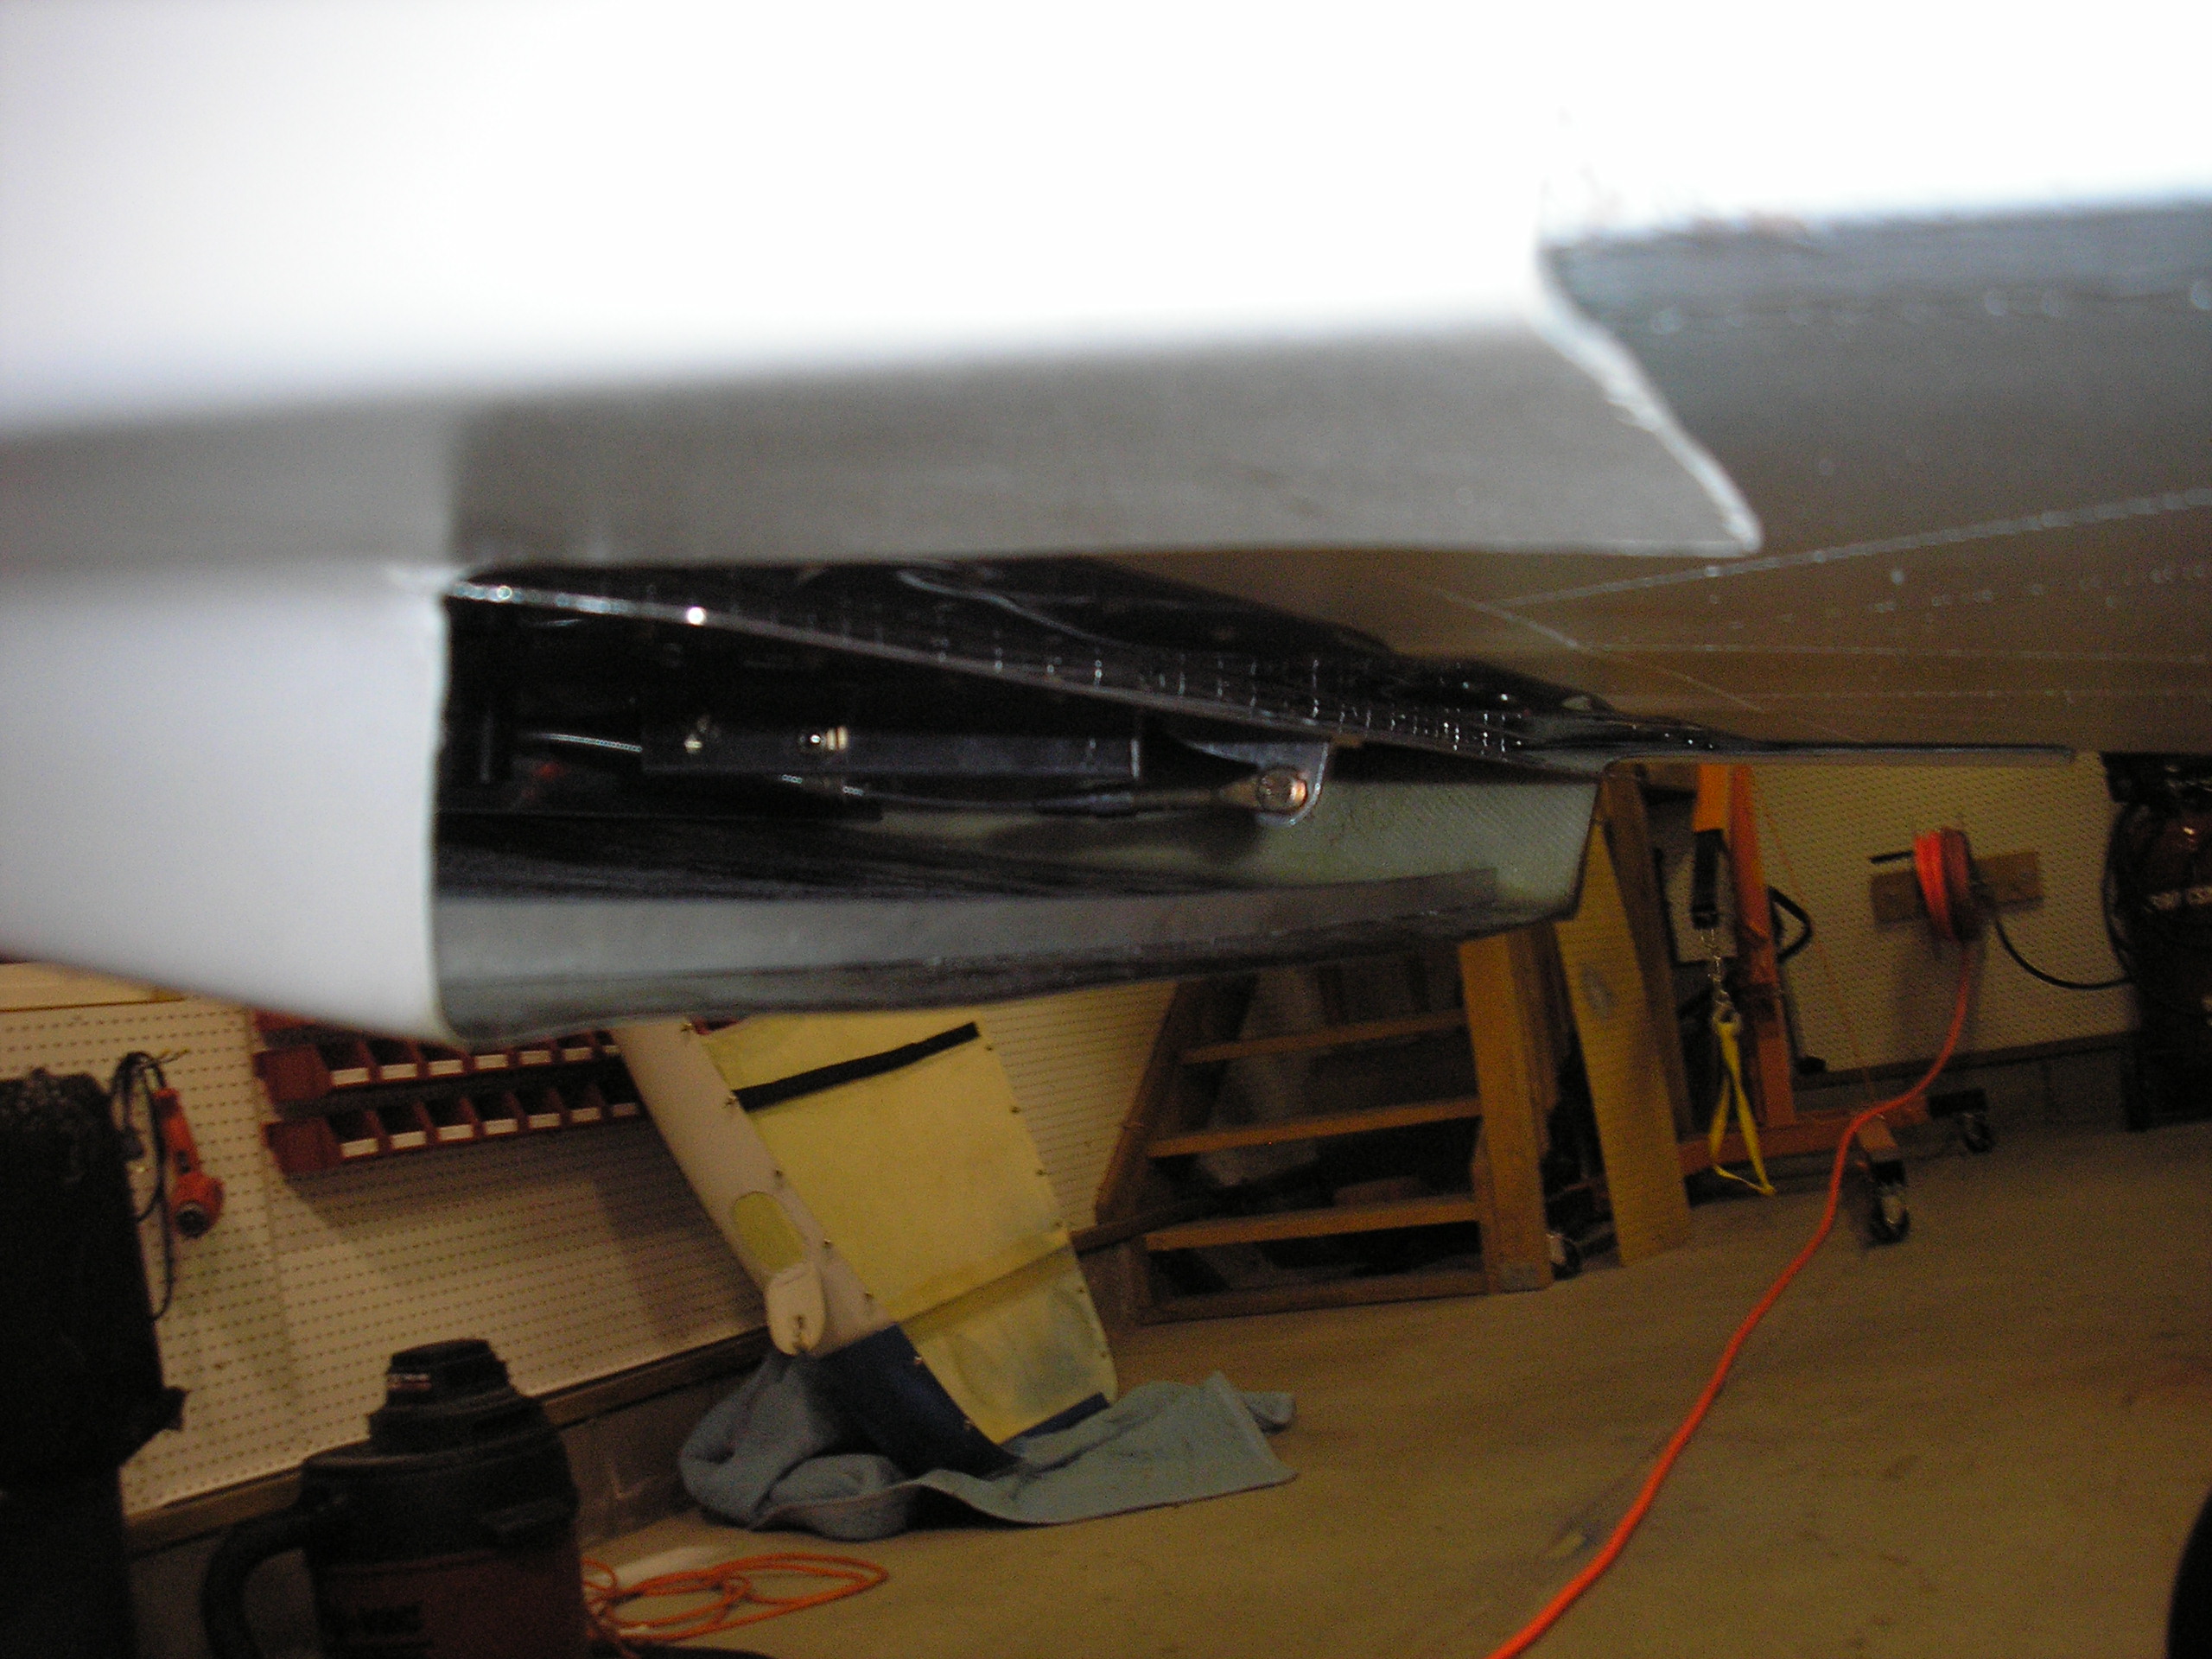
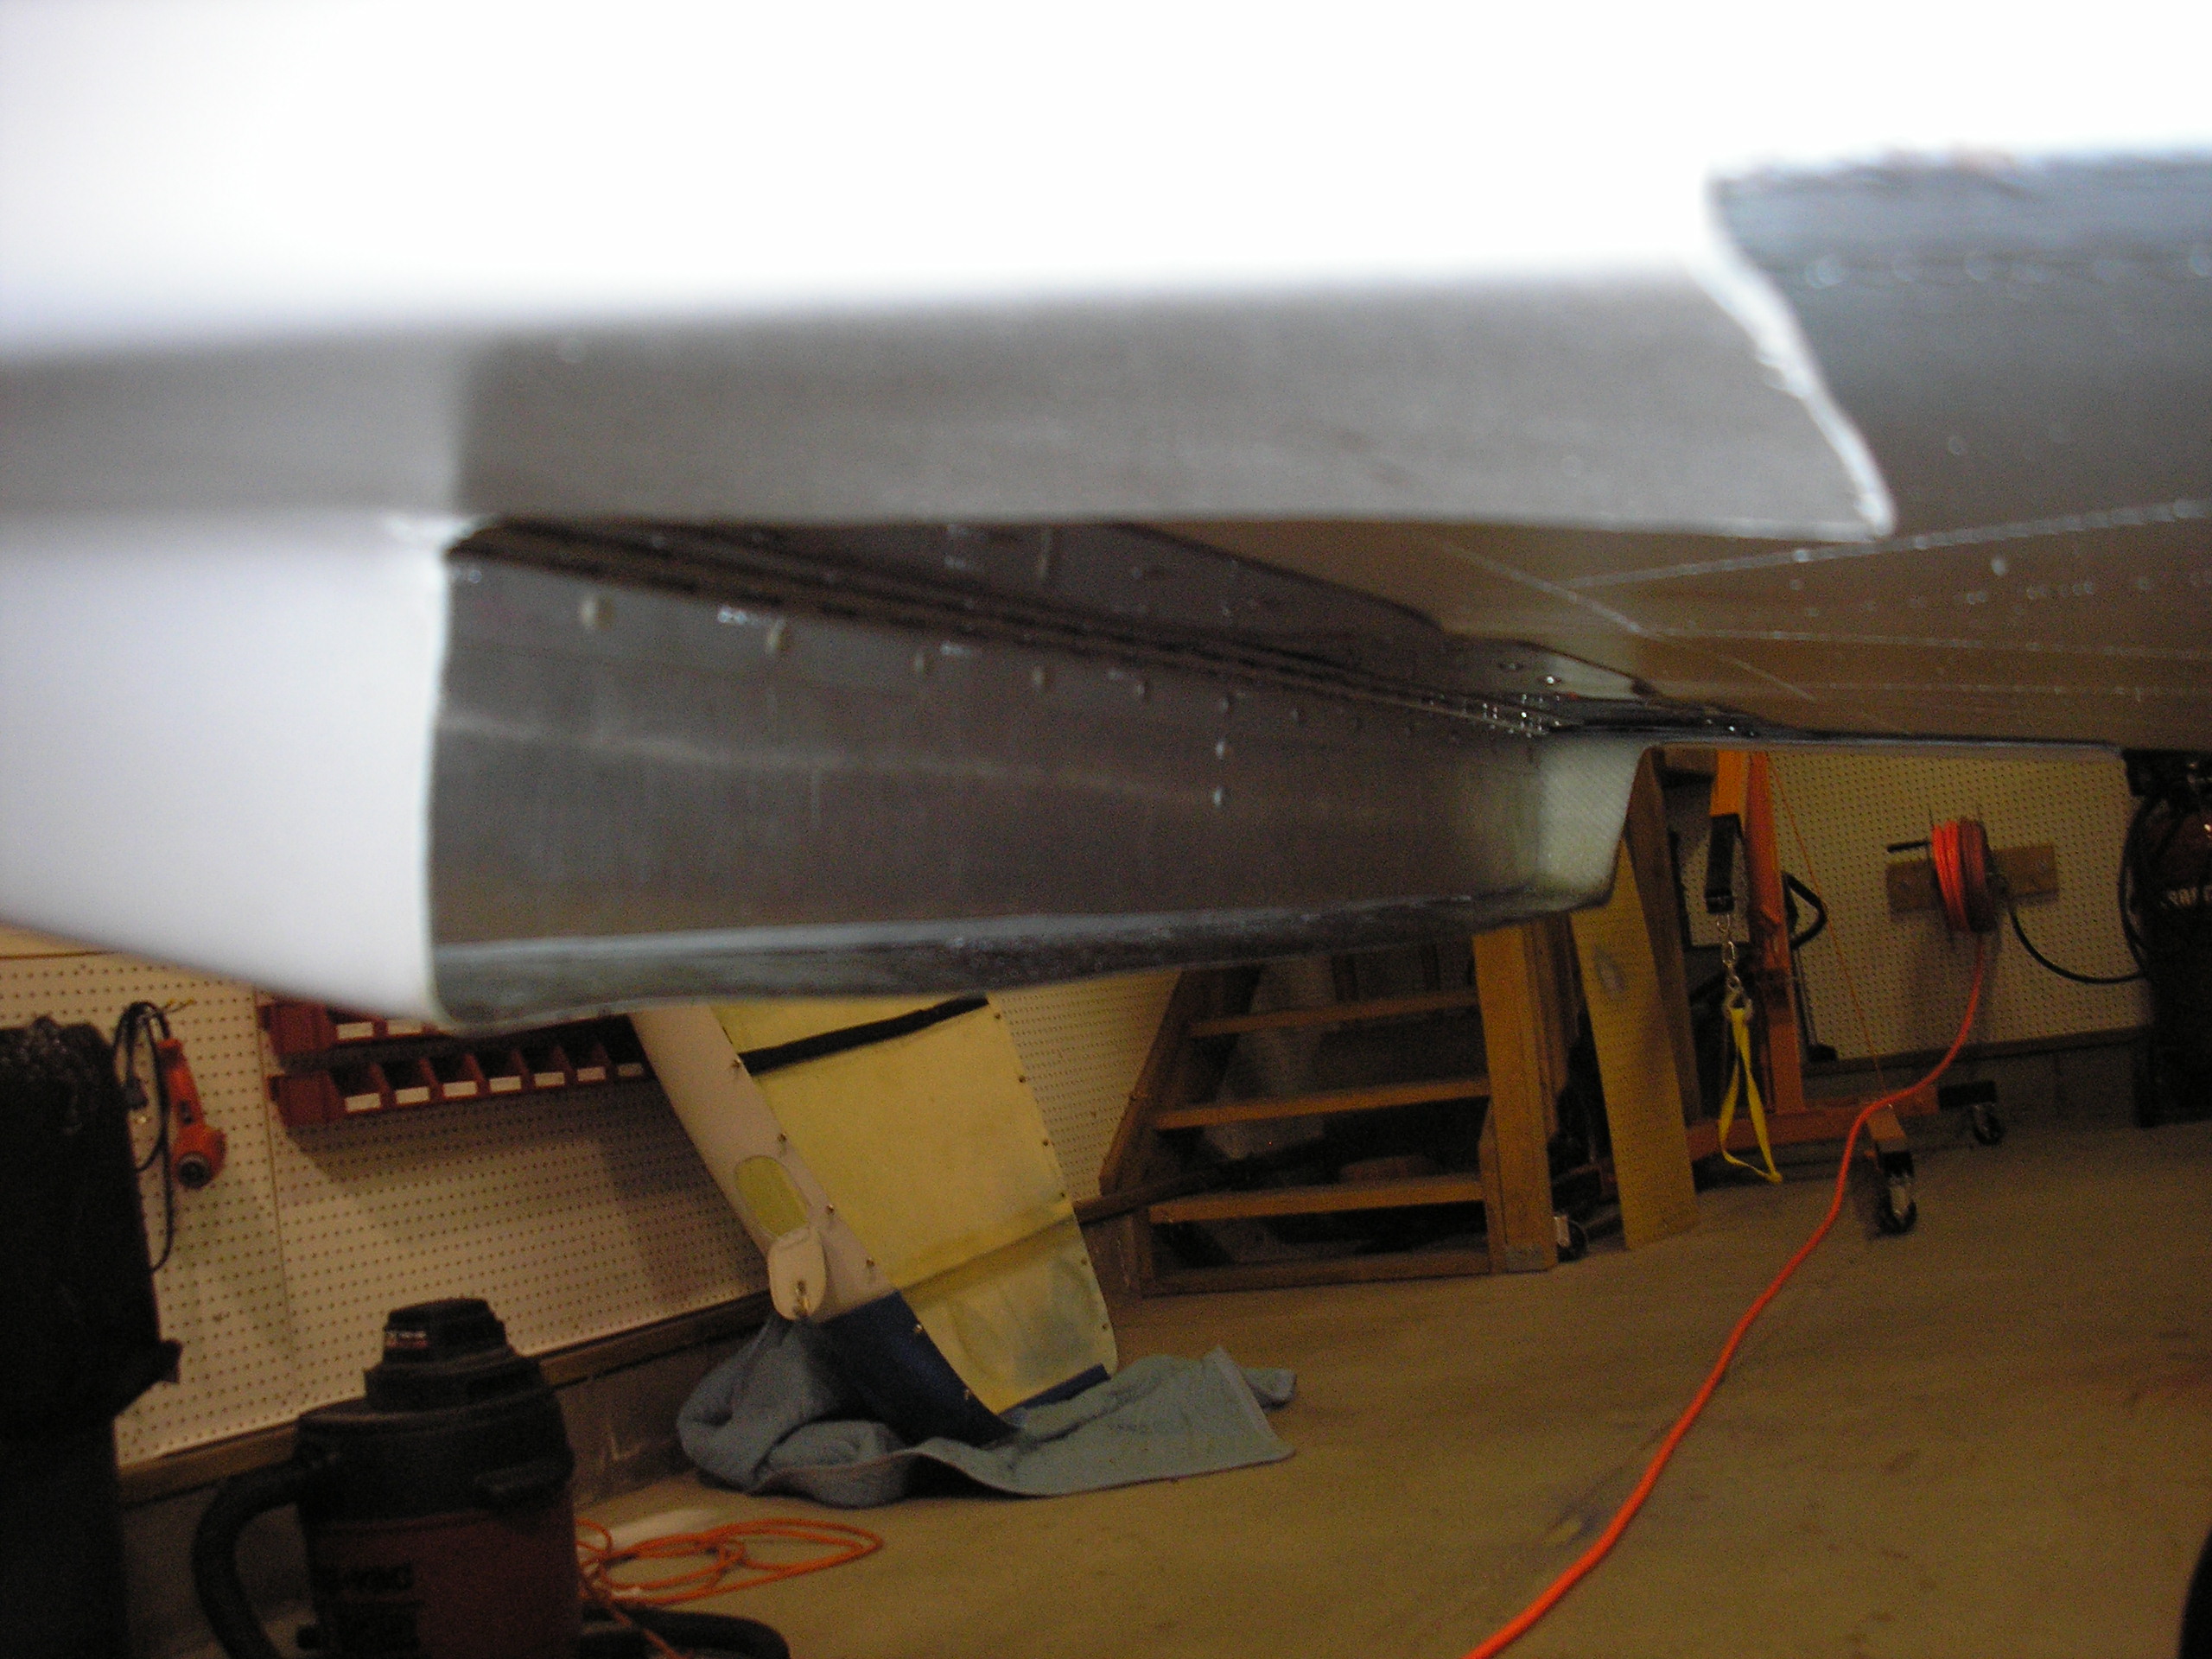
Cowl Flaps
I wanted better control of the cylinder head temperature. During the cold months the temperature was too low during cruise and descent - about 150 degrees.. I wanted it to remain warmer - around 180 to 190 degrees. Not only would this be better for the engine health, but it would give me more heat to steal for the cabin heater. I designed this cowl flap to work in the area of the lower cowl where cooling air was expelled. It is accuated with a push/pull cable with a locking 'T' handle. |
|
|
When the flap is open, it lies against the belly of the fuselage. When the flap is closed it blocks the exit of the cooling air flow. The flap will fail to the open position in the event the linkage fails.
|
|
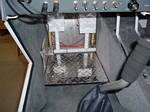
New Battery
I replaced the lead/acid motorcycle battery with this Odyssey PC680 (drycell) recombinant gas battery. It has a lot of advantages over the lead/acid. This battery is completey sealed and will never leak. It can be mounted flat or upright. The self discharge rate is extremely low. It can sit unused for two years without significant discharge. It delivers a considerably higher cranking amperage. (680 cranking amps, 17 amp hour capacity, 8-12 year design life, 25 minute reserve capacity with 25amp load)
The PC680 would not fit in the original Skystar plastic battery box. It was just a little bit too big. Luckily, Aircraft Spruce sells a battery box specifically sized for this battery. I mounted this box perpendicular to the direction of the old box in the same area.
|

|
|
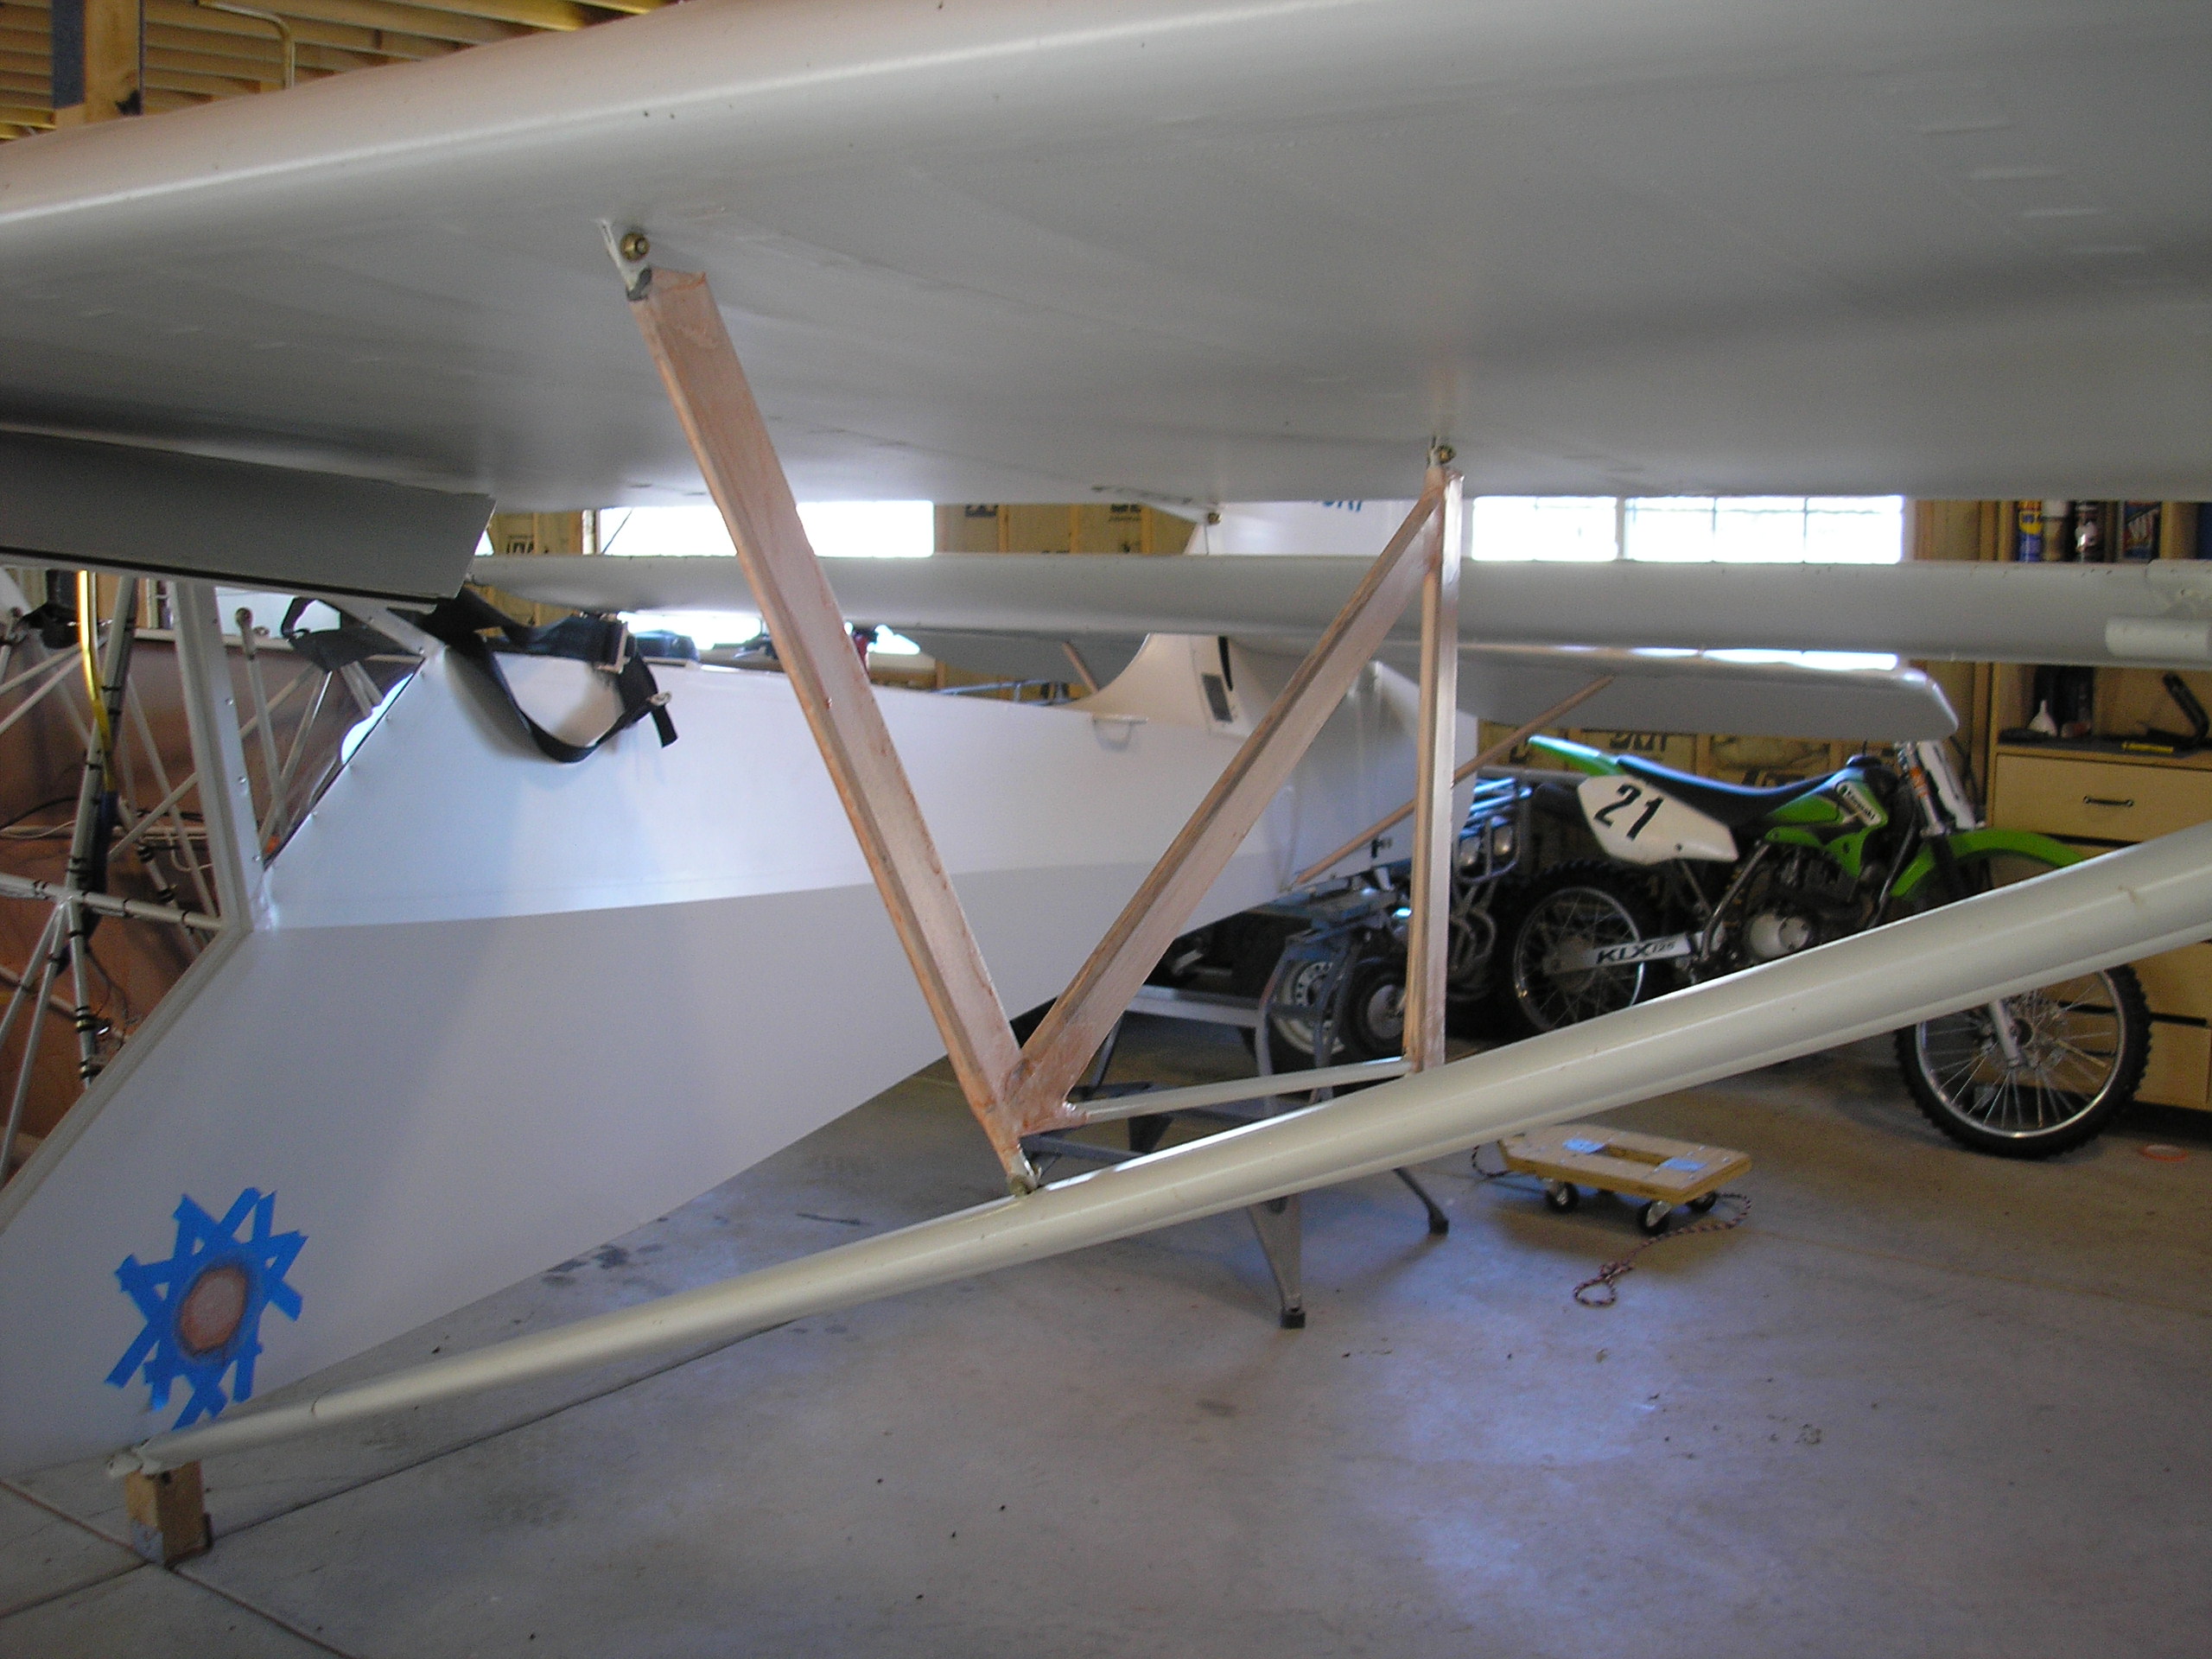
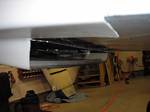
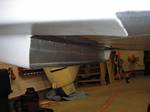
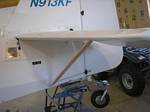
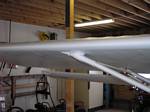
Fairings
This is an attempt to squeeze out a little more speed. Fairings have been added to the horizontal stabilizer, jury struts, pitot tube, and top of the lift struts. Those shown in these pictures were constructed with pre-formed aluminum trailing edge strips. They have been attached with structural epoxy and covered with fabric. This picture does not show it, but the fairings have been painted with Polytone.
NOTE: Inflight testing at 6,500 MSL shows a speed gain of about 3 knots! Cruise speed at 5200 rpm is now 100 knots (115 mph). Cruise speed at 5400 rpm is 105 knots (121 mph).
|

|
|
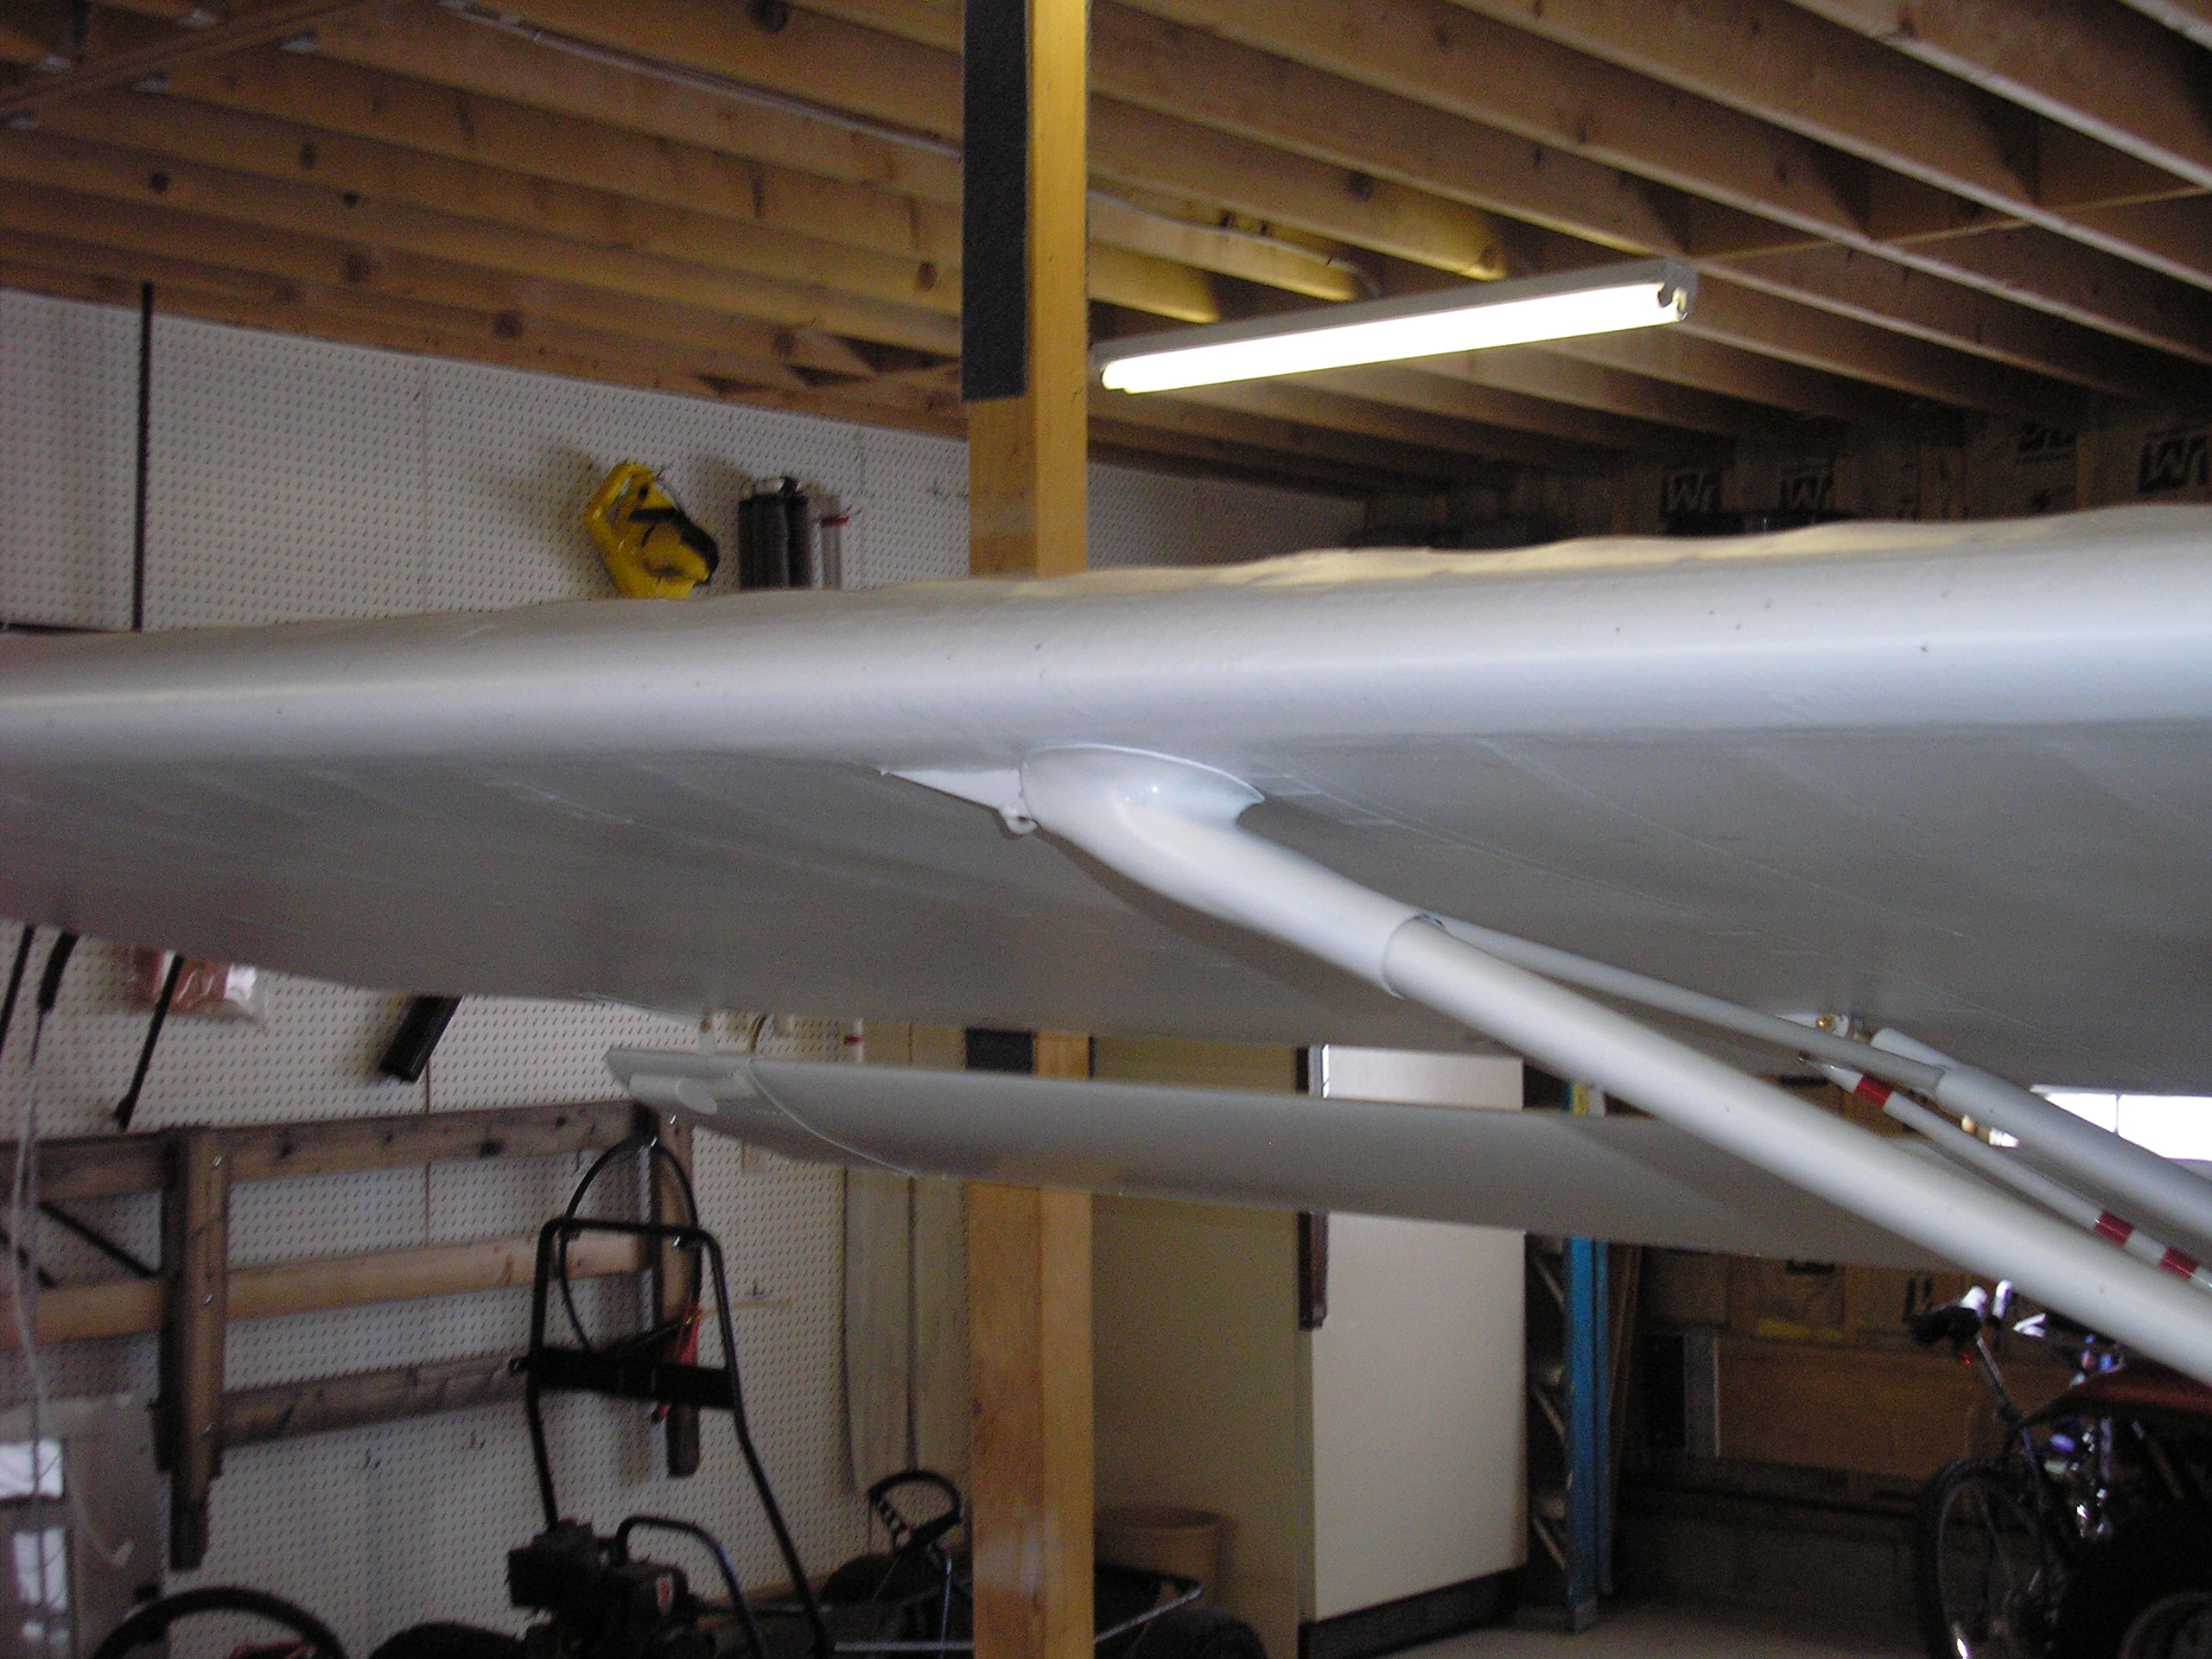
Fiberglass Cuffs
First let me express that I detest working with fiberglass. It is messy, it smells, and it takes a lot of (boring) sanding. I certainly have no desire to build a composite aircraft! That being said, I did delve into fiberglass to fabricate some cuffs at the top of the lift struts. I did not like the look of the rod end and attach bolt hanging out in the wind. I covered the area in wax paper, molded the basic shape with model clay, and layed up three layers of glass. The cuff steamlines the wing junction, but is formed to keep the tiedown ring exposed.
|
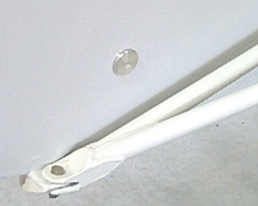
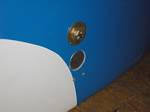
Access Ports for Tires
I installed these spring loaded doors to the wheel pants so that I could add air to the tires without removing the wheel pants. I can reach the valve stem with a long tire chuck. The doors are one inch and are available from Aircraft Spruce.
|
|
|
 Builder's Log - Bumps in the Road